Difference between revisions of "Install Cloud Server on Windows"
Yvonne.milne (Talk | contribs) |
Barrymavin (Talk | contribs) (→Before you start...) |
||
| (8 intermediate revisions by 2 users not shown) | |||
| Line 1: | Line 1: | ||
| − | + | ==See Also== | |
| + | * [http://www.lianja.com/component/rsfiles/files?folder=Windows Downloads for Windows] | ||
| + | * [[Lianja Server Manager on Windows]] | ||
| + | * [[Lianja ODBC Driver on Windows]] | ||
| + | * [[Lianja ODBC Manager on Windows]] | ||
| + | * [[:Category:Lianja Cloud Server|Lianja Cloud Server]] | ||
| + | * [[:Category:Lianja Server|Lianja Server]] | ||
| + | * [[:Category:License Management|License Management]] | ||
| + | * [[ISAPI Extension for IIS]] | ||
| + | ==Before you start...== | ||
| − | + | <div style="overflow:scroll;height:60px;margin-top:15px;padding:5px;border:0px solid orange;border-left:5px solid orange;background:#fff8dc;vertical-align:middle;position:relative;"> | |
| + | [[File:bm-noteicon.png|top|40px|link=]] | ||
| + | <div style="position:absolute;top:7px;bottom:5px;margin-left:50px;"> | ||
| + | If you have already installed the Lianja App Builder you should not install the Cloud Server as it will be already installed. | ||
| + | </div> | ||
| + | </div> | ||
| − | The Lianja Cloud Server installer includes the Lianja Cloud Server, the Lianja SQL Server and the Lianja ODBC Driver. The Lianja | + | The Lianja Cloud Server installer includes the Lianja Cloud Server, the Lianja SQL Server and the Lianja ODBC Driver. |
| + | |||
| + | The Lianja Cloud Server listens for requests on port 8001, so make sure that your firewall is not blocking access to this port. It can also be configured to listen for request on port 80. See [[Lianja Server Manager on Windows]] for this and other configuration options. | ||
==Installation== | ==Installation== | ||
| − | * Double-click on the downloaded installer to run it | + | * Double-click on the downloaded installer to run it. |
| − | * Click '''Next >''' to continue | + | * Click '''Next >''' to continue. |
[[File:Install_cs1.png|link=|Lianja Cloud Server Installation]] | [[File:Install_cs1.png|link=|Lianja Cloud Server Installation]] | ||
<br clear=all> | <br clear=all> | ||
| − | * Read the License Agreement | + | * Read the License Agreement, using the scrollbar to display the full text. Click a radio button to accept or reject the License Agreement then click '''Next >'''. |
| − | + | [[File:License.png|link=|Lianja App Builder Installation]] | |
| − | [[File:License.png|link=|Lianja | + | |
<br clear=all> | <br clear=all> | ||
| − | + | If you select '''I accept the agreement''', the installation will continue. | |
| − | + | If you select '''I do not accept the agreement''', you will be prompted to abort the installation: if you click '''Yes''' the installation will stop, if you click '''No''' you will be returned to the License Agreement. After accepting the License Agreement, the installation will continue. | |
| − | + | * Select the Installation Directory in the format DRIVE:\lianja, the default Installation Directory 'C:\lianja'. Then click '''Next >'''. | |
| − | + | ||
| − | + | ||
| − | + | ||
| − | + | ||
| − | + | ||
| − | + | ||
| − | + | ||
| − | + | ||
| − | + | ||
| − | + | ||
| − | * Select the Installation Directory in the format DRIVE:\lianja | + | |
| − | + | ||
| − | + | ||
[[File:Install_cs2.png|link=|Lianja Cloud Server Installation]] | [[File:Install_cs2.png|link=|Lianja Cloud Server Installation]] | ||
<br clear=all> | <br clear=all> | ||
| − | + | To install to an alternative drive, specify the drive letter, but leave the directory as '\lianja', e.g. | |
| − | + | <pre>E:\lianja</pre> | |
| − | + | * Make sure 'Lianja Cloud Server' is checked, then click '''Next >'''. | |
| − | + | ||
| − | < | + | |
| − | * Make sure 'Lianja Cloud Server' is checked | + | |
| − | + | ||
[[File:Install_cs3.png|link=|Lianja Cloud Server Installation]] | [[File:Install_cs3.png|link=|Lianja Cloud Server Installation]] | ||
<br clear=all> | <br clear=all> | ||
| − | * Click '''Next >''' to begin the installation | + | * Click '''Next >''' to begin the installation. If you do not want the installation to begin, click '''Cancel'''. |
| − | + | ||
[[File:Install_cs4.png|link=|Lianja Cloud Server Installation]] | [[File:Install_cs4.png|link=|Lianja Cloud Server Installation]] | ||
<br clear=all> | <br clear=all> | ||
| − | * Uncheck the box if you do not want to view the Readme File | + | * Uncheck the box if you do not want to view the Readme File, then click '''Finish''' to complete the installation. |
| − | + | ||
[[File:Install_cs5.png|link=|Lianja Cloud Server Installation]] | [[File:Install_cs5.png|link=|Lianja Cloud Server Installation]] | ||
<br clear=all> | <br clear=all> | ||
| − | + | ||
| + | ==Managing the Lianja Server== | ||
[[File:ServerShortcut.png|link=|Lianja Server Manager Shortcut]] | [[File:ServerShortcut.png|link=|Lianja Server Manager Shortcut]] | ||
<br clear=all> | <br clear=all> | ||
| − | + | Double-click the Lianja Server Manager desktop shortcut to [[Lianja Server Manager on Windows|manage the Lianja Server]]. | |
| − | === | + | ==Managing Lianja ODBC Data Sources== |
| − | + | [[File:ODBCManagerShortcut.png|link=|Lianja ODBC Manager Shortcut]] | |
| + | <br clear=all> | ||
| + | The Lianja ODBC Driver is also installed. Lianja ODBC data sources can be managed in the Windows 32 bit ODBC Data Source Administrator or using the [[Lianja ODBC Manager on Windows|Lianja ODBC Manager]]. | ||
| − | + | Third party ODBC data sources for use from Lianja can be set up in the Windows 32 bit ODBC Data Source Administrator. | |
| + | |||
| + | ==Command Line Installation== | ||
| + | As administrator (replacing the exe name and drive prefix as required): | ||
| + | |||
| + | <pre>.\LianjaCloudServer-7.1-windows-update-installer.exe ^ | ||
| + | --mode unattended --unattendedmodeui none --prefix c:\lianja</pre> | ||
| + | |||
| + | To start the server: | ||
| + | |||
| + | <pre>powershell -Command "Start-Process cmd -ArgumentList ^ | ||
| + | '/C net start lianjaserver' -Verb RunAs "</pre> | ||
| − | |||
| − | |||
[[Category:Installation| ]] | [[Category:Installation| ]] | ||
[[Category:Installation on Windows| Lianja Cloud Server]] | [[Category:Installation on Windows| Lianja Cloud Server]] | ||
[[Category:Lianja Cloud Server]] | [[Category:Lianja Cloud Server]] | ||
Latest revision as of 02:56, 29 April 2024
Contents
See Also
- Downloads for Windows
- Lianja Server Manager on Windows
- Lianja ODBC Driver on Windows
- Lianja ODBC Manager on Windows
- Lianja Cloud Server
- Lianja Server
- License Management
- ISAPI Extension for IIS
Before you start...
![]()
If you have already installed the Lianja App Builder you should not install the Cloud Server as it will be already installed.
The Lianja Cloud Server installer includes the Lianja Cloud Server, the Lianja SQL Server and the Lianja ODBC Driver.
The Lianja Cloud Server listens for requests on port 8001, so make sure that your firewall is not blocking access to this port. It can also be configured to listen for request on port 80. See Lianja Server Manager on Windows for this and other configuration options.
Installation
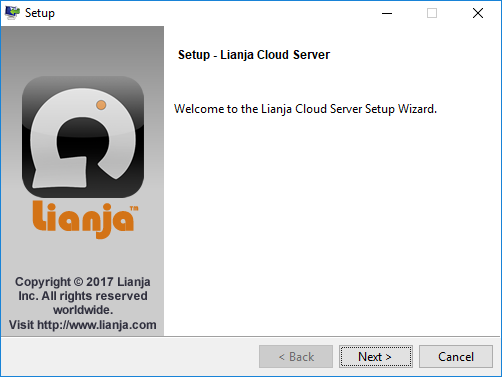
- Double-click on the downloaded installer to run it.
- Click Next > to continue.
- Read the License Agreement, using the scrollbar to display the full text. Click a radio button to accept or reject the License Agreement then click Next >.
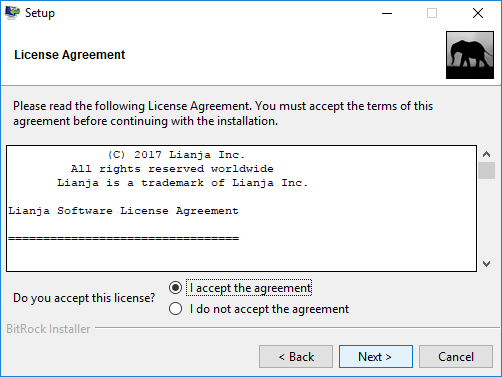
If you select I accept the agreement, the installation will continue.
If you select I do not accept the agreement, you will be prompted to abort the installation: if you click Yes the installation will stop, if you click No you will be returned to the License Agreement. After accepting the License Agreement, the installation will continue.
- Select the Installation Directory in the format DRIVE:\lianja, the default Installation Directory 'C:\lianja'. Then click Next >.
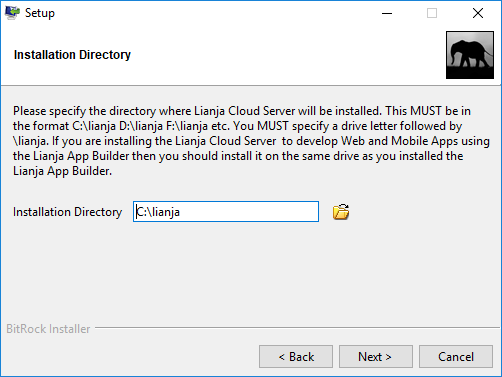
To install to an alternative drive, specify the drive letter, but leave the directory as '\lianja', e.g.
E:\lianja
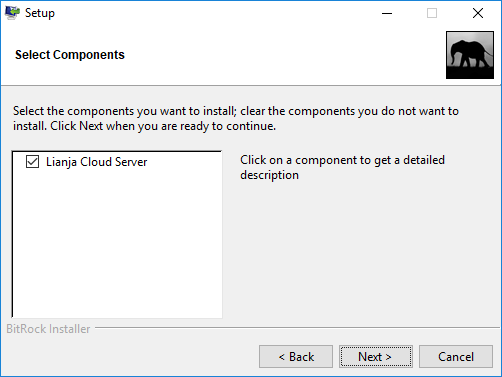
- Make sure 'Lianja Cloud Server' is checked, then click Next >.
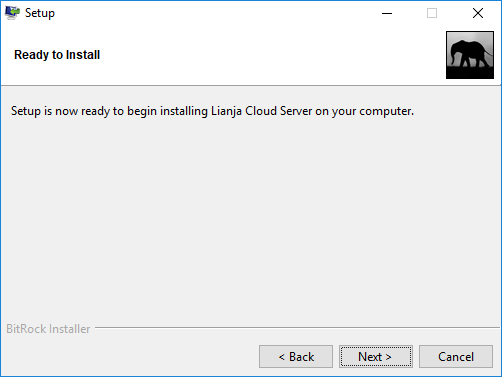
- Click Next > to begin the installation. If you do not want the installation to begin, click Cancel.
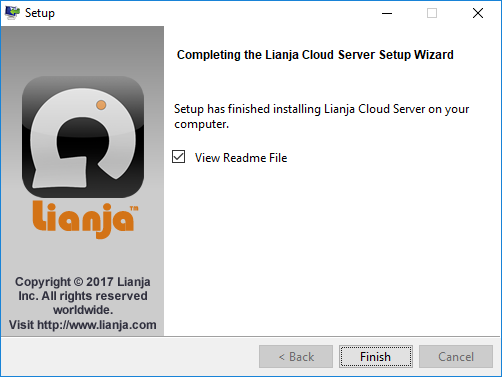
- Uncheck the box if you do not want to view the Readme File, then click Finish to complete the installation.
Managing the Lianja Server
Double-click the Lianja Server Manager desktop shortcut to manage the Lianja Server.
Managing Lianja ODBC Data Sources
The Lianja ODBC Driver is also installed. Lianja ODBC data sources can be managed in the Windows 32 bit ODBC Data Source Administrator or using the Lianja ODBC Manager.
Third party ODBC data sources for use from Lianja can be set up in the Windows 32 bit ODBC Data Source Administrator.
Command Line Installation
As administrator (replacing the exe name and drive prefix as required):
.\LianjaCloudServer-7.1-windows-update-installer.exe ^
--mode unattended --unattendedmodeui none  --prefix c:\lianja
To start the server:
powershell -Command "Start-Process cmd -ArgumentList ^
'/C net start lianjaserver' -Verb RunAs "