Understanding UI Layouts
Contents
About this tutorial
In this tutorial we will see how to use UI Layouts to build Custom UI components. The target audience is for intermediate developers who have read through and understood the Getting Started with Lianja tutorial.
The Lianja App Development process
As you should recall from the Getting Started with Lianja tutorial, developing apps in the Lianja App Builder is an iterative process.
Let's just quickly review that process.
- You visually build a Lianja App using the Lianja App Builder. For non-programmers, the Lianja App Builder providers a wide range of pre-built templates to assist you in building an App quickly and easily.
- Lianja Apps are made up of Pages. Pages are made up of Sections. Sections are made up of Fields and Gadgets.
- You can group pages into Page Collections.
If you require to build a more complex App with a custom UI, you do this by building Custom Sections and/or Custom Gadgets in any of the following scripting languages which are integrated into the Lianja App Builder:
- Lianja/VFP
- JavaScript/TypeScript/Babel
- Python
- PHP
When building Web or Mobile Apps you should write the custom client-side code in JavaScript or TypeScript..
Seeing that the Lianja App Builder has an embedded database built into it, you do not need to install any other software to be able to build multi-user high performance database apps for the desktop, web and mobile devices.
The Lianja embedded database engine is highly compatible with Visual FoxPro. It includes a feature-complete cross platform implementation on the Visual FoxPro scripting and database engine.
Python, JavaScript, TypeScript, Babel and PHP are seamlessly integrated on top of this database engine, allowing you to build custom UI sections and custom UI gadgets in Visual FoxPro, JavaScript, TypeScript, Babel, Python or PHP and make full use of the power of this high performance database engine with local cursors and complete SQL and noSQL database support.
To facilitate the development of custom UI sections and gadgets, Lianja comes with a cross-platform, UI independent application framework called the Lianja UI Framework.
Lianja UI Framework
The Lianja UI Framework is a feature rich application framework used to build custom UI elements for the Desktop, Web and Mobile devices. The classes, methods and properties in the framework are compatible with those in Visual FoxPro 9.0 but have been extensively extended to make it easier to build UIs for Apps that will run on the desktop, web and mobile devices. In particular, it has complete Layout Manager support, and provides the ability for each UI component to be skinned using CSS attributes (the Stylesheet property).
The Lianja UI Framework is client agnostic. Desktop, Web and Mobile.
You use Lianja/VFP (Visual FoxPro compatible), JavaScript, TypeScript, Babel, Python or PHP with the Lianja UI Framework to build Custom Sections and Custom Gadgets. All Lianja UI Framework Classes provide integrated data binding to the underlying Lianja embedded database (the Controlsource property).
Custom UI Layouts
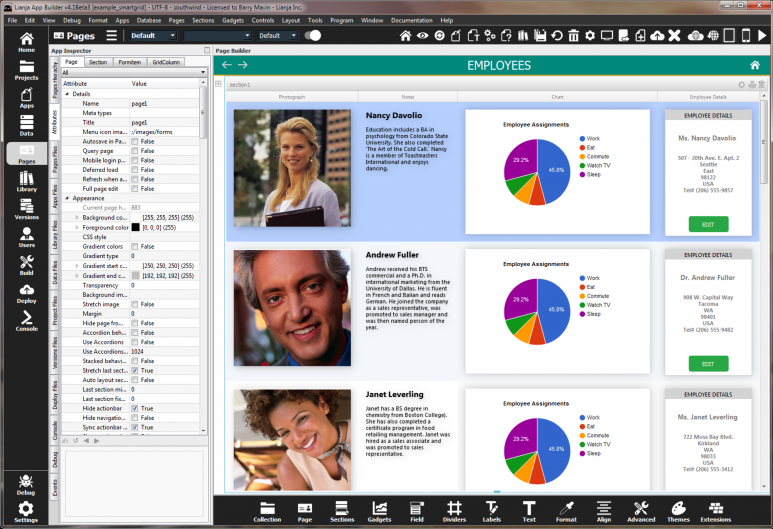
In Lianja App Builder you build Apps visually by drag’n drop in the "Page Builder".
In this example you can see the power of custom cell renderers and custom cell editors for grid columns.
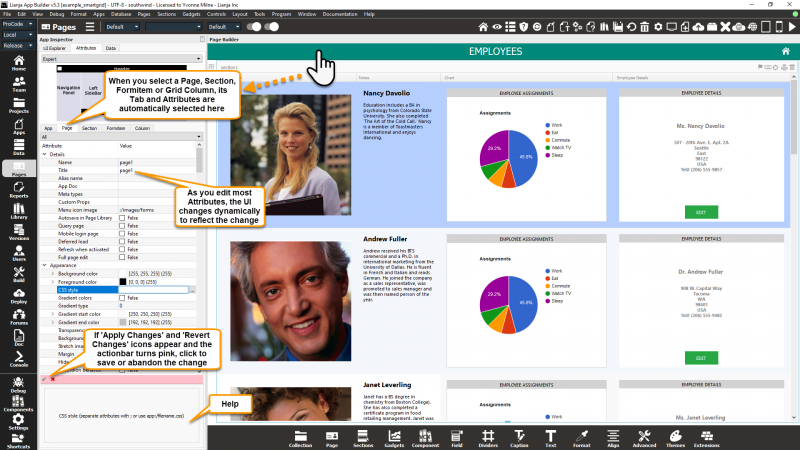
You customize the UI elements of your app (Pages, Sections, Fields and Gadgets) declaratively by setting attributes in the App Inspector.
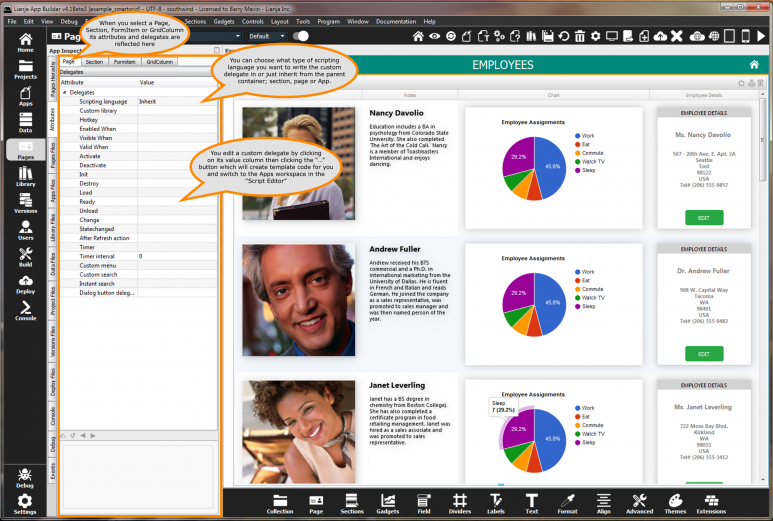
You intercept events for the UI elements using delegates.
Delegates can be written in Lianja/VFP, JavaScript, TypeScript, Babel, Python or PHP.
If you are developing a Web and/or Mobile App then the delegates should be written in JavaScript, TypeScript or Babel/ES6.
Lianja has a wide range of built-in sections and gadgets for you to use so before you go writing lots of unnecessary code familiarize yourself with these first.
Occasionally you may want to include a "Custom" section, "Custom" gadget or other custom UI code in your App.
To assist you with this Lianja includes a comprehensive UI Framework The Lianja UI Framework to help speed up your development.
This UI framework is modelled on the Visual FoxPro 9 framework classes but has been extended with many modern classes and additional functionality. It can be used with all supported scripting languages; Lianja/VFP, JavaScript, TypeScript, Babel/ES6, Python, PHP.
The Lianja UI framework classes can be themed using CSS and are not only cross-platform (Windows, Linux and macOS) but also cross device; Desktop, Web and Mobile.
The "Container" class provides the ability to build a UI hierarchy of child UIcontrols; TextBox, ComboBox, Label etc. as well as nested containers.
The Lianja UI layout managers provide a simple and powerful way of automatically arranging child UIcontrols within a container to ensure that they make good use of the available space and are responsive to size changes of the container they manage.
An important feature of layouts is that they are responsive. Changing the size of the container will automatically relay the container out so there is no need to specify the position of the children components in the container as the layout manager will do it for you.
There are four types of "layout" that can be specified on a container.
- Vertical
- Horizontal
- Grid
- Form
These layouts automatically position and resize UIcontrols when the amount of space available to them changes ensuring that they are consistently arranged and that the UI as a whole remains usable.
So, to summarize:
A "container" can use layouts to manage its children.
The "layout" property applies a layout to a container.
When a layout is set on a container in this way, it takes charge of the following tasks:
- Positioning of child UIcontrols.
- Sensible default sizes for windows.
- Sensible minimum sizes for windows.
- Resize handling.
- Automatic updates when contents change:
- Font size, text or other contents of child UIcontrols.
- Hiding or showing a child UIcontrol.
- Removal of child UIcontrols.
Let’s take a look at these layouts using JavaScript in the coding examples. If you want to write these in Lianja/VFP just remove the ‘;’ from the end of the lines.
Vertical Layout
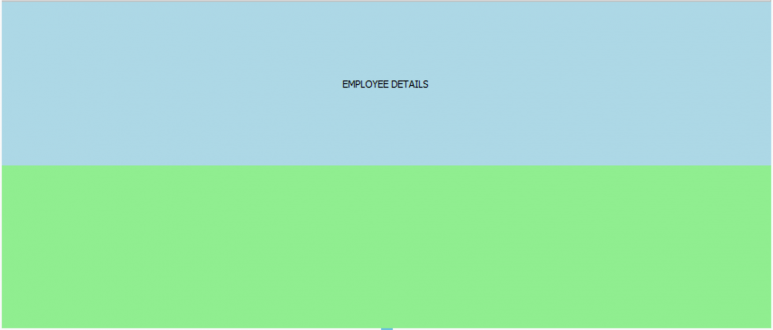
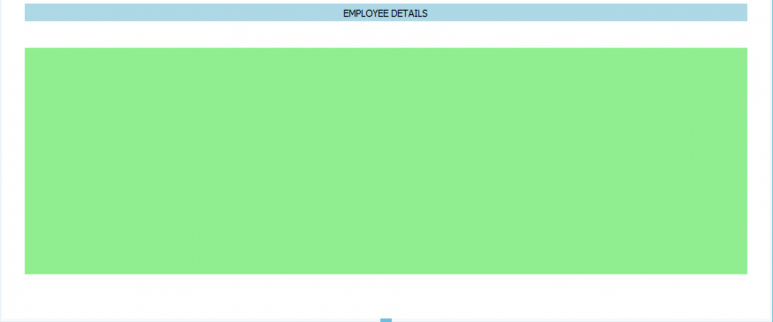
The "Vertical" layout lines up UIcontrols vertically.
Once a container has a vertical layout you add UIcontrols to it using the addObject() method.
As UIcontrols are added to a container with a vertical layout, the height of each UIcontrol in the container is adjusted automatically to fill up the height of the container adjusting for spacing between each UIcontrol and the margin around the container.
Note that when a UIcontrol is added to a container with a vertical layout its width expands to the width of the container leaving space for its margins.
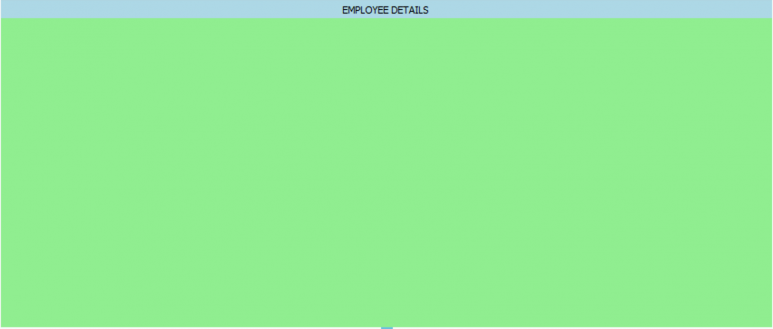
cont = createObject("container");
cont.backcolor = "white";
cont.layout = "Vertical"
cont.addObject("labtitle", "label");
labtitle.caption = "EMPLOYEE DETAILS";
labtitle.backcolor = "lightblue";
labtitle.alignment = "center";
cont.addObject("lab", "label");
lab.backcolor = "lightgreen";
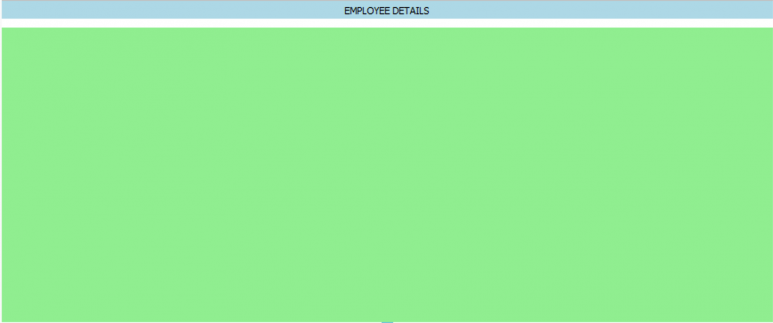
You can set a fixedheight for a UIcontrol. This results in the remaining UIcontrols that are added to the container to fill up the remaining space vertically.
cont = createObject("container");
cont.backcolor = "white";
cont.layout = "Vertical";
cont.addObject("labtitle", "label");
labtitle.caption = "EMPLOYEE DETAILS";
labtitle.fixedheight = 20;
labtitle.backcolor = " lightblue";
labtitle.alignment = "center";
cont.addObject("lab", "label");
lab.backcolor = "lightgreen";
You adjust the vertical spacing between UIcontrols with the spacing property.
cont = createObject("container");
cont.backcolor = "white";
cont.layout = "Vertical";
cont.spacing = 10;
cont.addObject("labtitle", "label");
labtitle.caption = "EMPLOYEE DETAILS";
labtitle.fixedheight = 20;
labtitle.backcolor = " lightblue";
labtitle.alignment = "center";
cont.addObject("lab", "label");
lab.backcolor = "lightgreen";
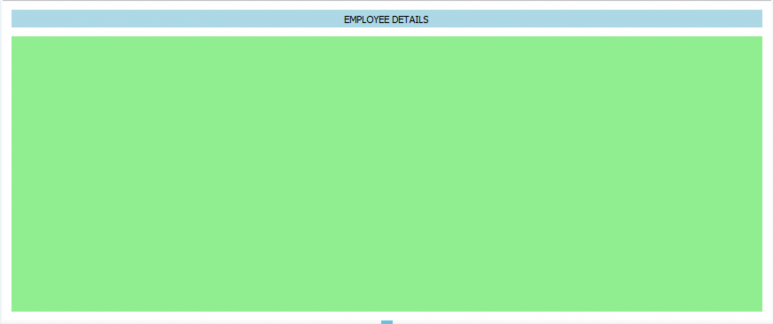
You adjust the margin around the container by setting the margin property.
cont = createObject("container");
cont.backcolor = "white";
cont.layout = "Vertical";
cont.margin = 10;
cont.addObject("labtitle", "label");
labtitle.caption = "EMPLOYEE DETAILS";
labtitle.fixedheight = 20;
labtitle.backcolor = "lightblue";
labtitle.alignment = "center";
cont.addObject("lab", "label");
lab.backcolor = "lightgreen";
Alternatively you can adjust individual margins by setting margintop, marginbottom, marginleft and/or marginright.
cont = createObject("container");
cont.backcolor = "white";
cont.layout = "Vertical";
cont.margintop = 5;
cont.marginright = 25;
cont.marginleft = 25;
cont.marginbottom = 50;
cont.addObject("labtitle", "label");
labtitle.caption = "EMPLOYEE DETAILS";
labtitle.fixedheight = 20;
labtitle.backcolor = "lightblue";
labtitle.alignment = "center";
cont.addObject("lab", "label");
lab.backcolor = "lightgreen";
Note: You can also specify a minheight and a maxheight for a UIcontrol.
You can add vertical spacing between the UIcontrols using the container addSpacing() method .
addSpacing(space as numeric)
cont = createObject("container");
cont.backcolor = "white";
cont.layout = "Vertical";
cont.margintop = 5;
cont.marginright = 25;
cont.marginleft = 25;
cont.marginbottom = 50;
cont.addObject("labtitle", "label");
labtitle.caption = "EMPLOYEE DETAILS";
labtitle.fixedheight = 20;
labtitle.backcolor = "lightblue";
labtitle.alignment = "center";
cont.addSpacing(10);
cont.addObject("lab", "label");
lab.backcolor = "lightgreen";
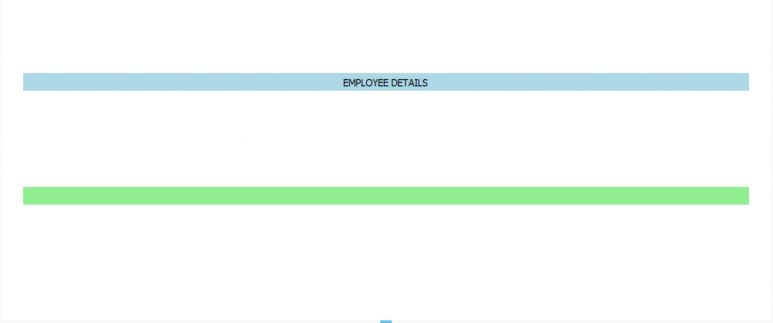
As you add UIcontrols to a vertical layout the UIcontrols (that have no fixedheight specified) will be adjusted in equal sizes vertically. If you want the UIcontrols to be aligned to the top of the container then use the container addStretch() method after the last UIcontrol is added. Alternatively, if the you want the UIcontrols aligned on the bottom of the container the use the addStretch() method before the first UIcontrol is added. To center the UIcontrols vertically addStretch() before all UIcontrols are added and then addStretch() again afterwards.
addStretch()
Without addStretch()
cont = createObject("container");
cont.backcolor = "white";
cont.layout = "Vertical";
cont.spacing = 10;
cont.margintop = 5;
cont.marginright = 25;
cont.marginleft = 25;
cont.marginbottom = 50;
cont.addObject("labtitle", "label");
labtitle.fixedheight = 20;
labtitle.caption = "EMPLOYEE DETAILS";
labtitle.backcolor = "lightblue";
labtitle.alignment = "center";
cont.addSpacing(20);
cont.addObject("lab", "label");
lab.backcolor = "lightgreen";
lab.fixedheight = 20;
With addStretch()
cont = createObject("container");
cont.backcolor = "white";
cont.layout = "Vertical";
cont.spacing = 10;
cont.margintop = 5;
cont.marginright = 25;
cont.marginleft = 25;
cont.marginbottom = 50;
cont.addObject("labtitle", "label");
labtitle.fixedheight = 20;
labtitle.caption = "EMPLOYEE DETAILS";
labtitle.backcolor = "lightblue";
labtitle.alignment = "center";
cont.addSpacing(20);
cont.addObject("lab", "label");
lab.backcolor = "lightgreen";
lab.fixedheight = 20;
cont.addStretch();
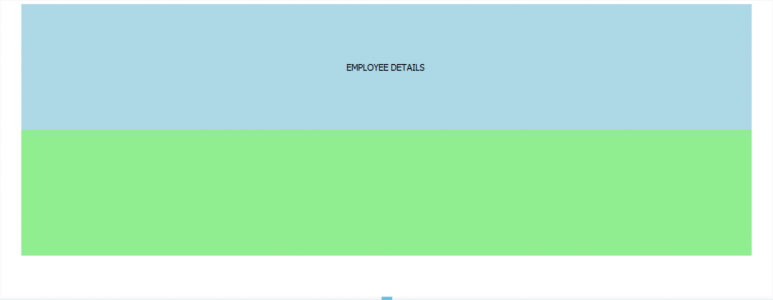
You can use the container setStretchFactor() method to inform the container the relative sizes of each of the UIcontrols inside the container.
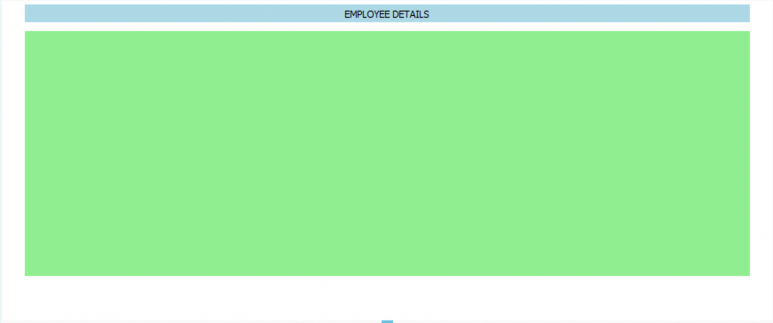
To better handle a responsive UI you can assign a stretchfactor to each UIcontrol in the layout. So for example if you set the stretchfactor of the first UIcontrol (index 0) to 2 and the others to 1, then the first UIcontrol will be twice the height of the others.
setStretchFactor(index as numeric, stretchfactor as numeric)
cont = createObject("container");
cont.backcolor = "white";
cont.layout = "Vertical";
cont.addObject("labtitle", "label");
labtitle.caption = "EMPLOYEE DETAILS";
labtitle.backcolor = "lightblue";
labtitle.alignment = "center";
cont.addObject("lab", "label");
lab.backcolor = "lightgreen";
cont.setStretchFactor(0, 2);
cont.setStretchFactor(1, 1);
Horizontal Layout
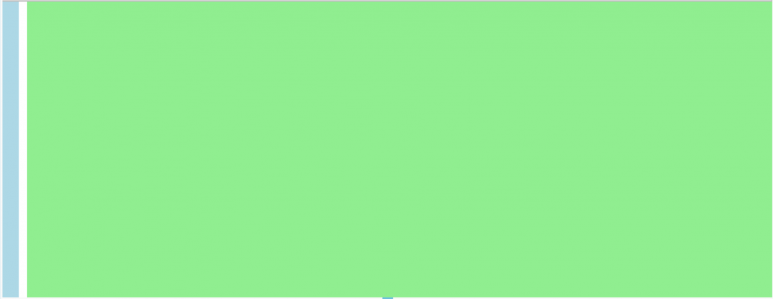
The "Horizontal" layout lines up UIcontrols horizontally.
Once a container has a horizontal layout you add UIcontrols to it using the addObject() method.
As UIcontrols are added to a container with a horizontal layout, the width of each UIcontrol in the container is adjusted automatically to fill up the width of the container adjusting for spacing between each UIcontrol and the margin around the container.
Note that when a UIcontrol is added to a container with a horizontal layout its height expands to the height of the container leaving space for its margins.
cont = createObject("container");
cont.backcolor = "white";
cont.layout = "Horizontal";
cont.addObject("labtitle", "label");
labtitle.backcolor = "lightblue";
cont.addObject("lab", "label");
lab.backcolor = "lightgreen";
You can set a fixedwidth for a UIcontrol. This results in the remaining UIcontrols that are added to the container to fill up the remaining space horizontally.
cont = createObject("container");
cont.backcolor = "white";
cont.layout = "Horizontal";
cont.addObject("labtitle", "label");
labtitle. fixedwidth = 20;
labtitle.backcolor = "lightblue";
cont.addObject("lab", "label");
lab.backcolor = "lightgreen";
You adjust the horizontal spacing between UIcontrols with the spacing property.
cont = createObject("container");
cont.backcolor = "white";
cont.layout = "Horizontal";
cont.spacing = 10;
cont.addObject("labtitle", "label");
labtitle. fixedwidth = 20;
labtitle.backcolor = "lightblue";
cont.addObject("lab", "label");
lab.backcolor = "lightgreen";
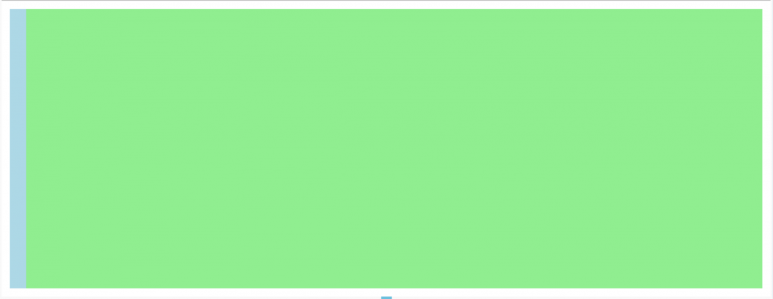
You adjust the margin around the container by setting the margin property.
cont = createObject("container");
cont.backcolor = "white";
cont.layout = "Horizontal";
cont.margin = 10;
cont.addObject("labtitle", "label");
labtitle.fixedwidth = 20;
labtitle.backcolor = "lightblue";
cont.addObject("lab", "label");
lab.backcolor = "lightgreen";
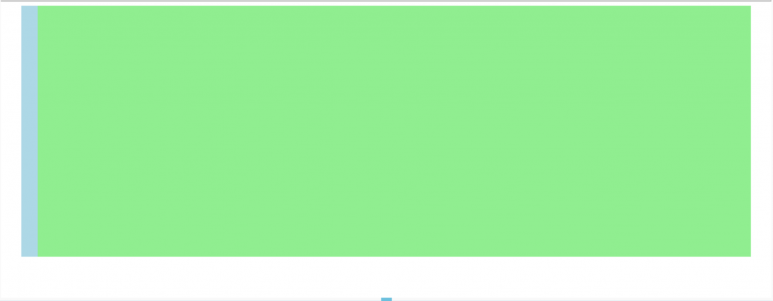
Alternatively you can adjust individual margins by setting margintop, marginbottom, marginleft and/or marginright.
cont = createObject("container");
cont.backcolor = "white";
cont.layout = "Horizontal";
cont.margintop = 5;
cont.marginright = 25;
cont.marginleft = 25;
cont.marginbottom = 50;
cont.addObject("labtitle", "label");
labtitle. fixedwidth = 20;
labtitle.backcolor = "lightblue";
cont.addObject("lab", "label");
lab.backcolor = "lightgreen";
Note: You can also specify a minwidth and a maxwidth for a UIcontrol.
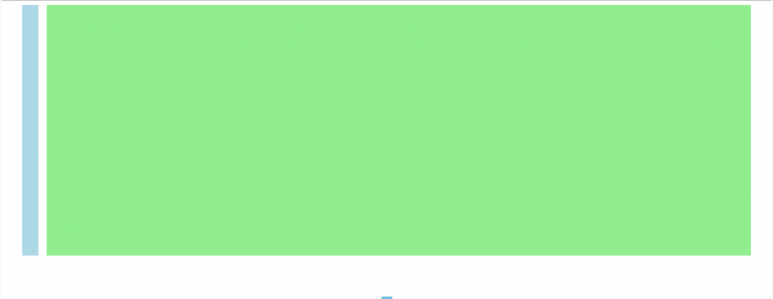
You can add horizontal spacing between the UIcontrols using the container addSpacing() method .
addSpacing(space as numeric)
cont = createObject("container");
cont.backcolor = "white";
cont.layout = "Horizontal";
cont.margintop = 5;
cont.marginright = 25;
cont.marginleft = 25;
cont.marginbottom = 50;
cont.addObject("labtitle", "label");
labtitle. fixedwidth = 20;
labtitle.backcolor = "lightblue";
cont.addSpacing(10);
cont.addObject("lab", "label");
lab.backcolor = "lightgreen";
As you add UIcontrols to a horizontal layout the UIcontrols (that have no fixedwidth specified) will be adjusted in equal sizes horizontally. If you want the UIcontrols to be aligned to the left of the container then use the container addStretch() method after the last UIcontrol is added. Alternatively, if the you want the UIcontrols aligned on the right of the container the use the addStretch() method before the first UIcontrol is added. To center the UIcontrols horizontally addStetch() before all UIcontrols are added and then addStretch() again afterwards.
addStretch()
Without addStretch()
cont = createObject("container");
cont.backcolor = "white";
cont.layout = "Horizontal";
cont.spacing = 10;
cont.margintop = 5;
cont.marginright = 25;
cont.marginleft = 25;
cont.marginbottom = 50;
cont.addObject("labtitle", "label");
labtitle. fixedwidth = 20;
labtitle.backcolor = "lightblue";
cont.addSpacing(20);
cont.addObject("lab", "label");
lab.backcolor = "lightgreen";
lab.fixedwidth = 20;
With addStretch()
cont = createObject("container");
cont.backcolor = "white";
cont.layout = "Horizontal";
cont.spacing = 10;
cont.margintop = 5;
cont.marginright = 25;
cont.marginleft = 25;
cont.marginbottom = 50;
cont.addObject("labtitle", "label");
labtitle.fixedwidth = 20;
labtitle.backcolor = "lightblue";
labtitle.alignment = "center";
cont.addSpacing(20);
cont.addObject("lab", "label");
lab.backcolor = "lightgreen";
lab.fixedwidth = 20;
cont.addStretch();
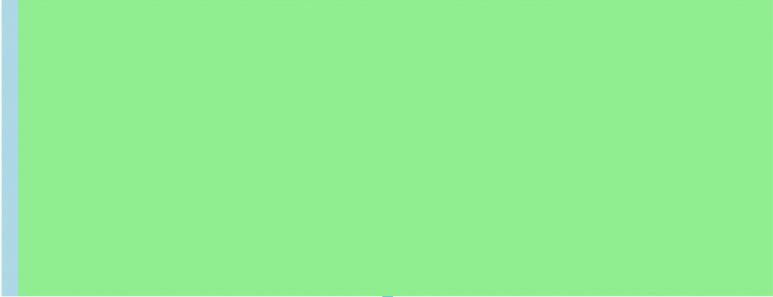
You can use the container setStretchFactor() method to inform the container the relative sizes of each of the UIcontrols inside the container.
To better handle a responsive UI you can assign a stretchfactor to each UIcontrol in the layout. So for example if you set the stretchfactor of the first UIcontrol (index 0) to 2 and the others to 1, then the first UIcontrol will be twice the width of the others.
setStretchFactor(index as numeric, stretchfactor as numeric)
cont = createObject("container");
cont.backcolor = "white";
cont.layout = "Horizontal";
cont.addObject("labtitle", "label");
labtitle.caption = "EMPLOYEE DETAILS";
labtitle.backcolor = "lightblue";
labtitle.alignment = "center";
cont.addObject("lab", "label");
lab.backcolor = "lightgreen";
cont.setStretchFactor(0, 2);
cont.setStretchFactor(1, 1);
Grid Layout
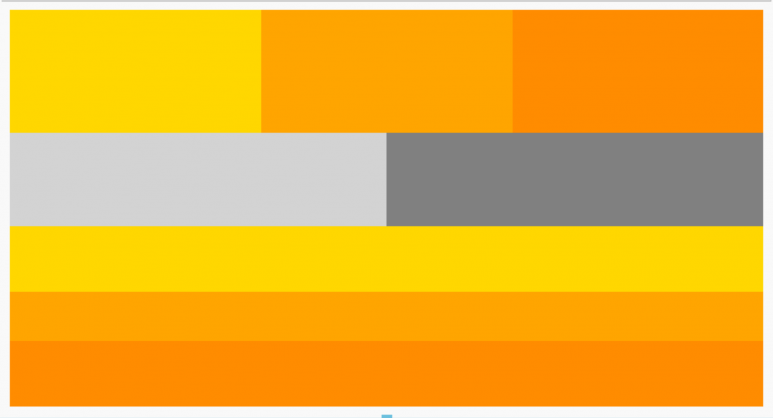
The "Grid" lays out UIcontrols in a grid.
Once a container has a grid layout you add UIcontrols to it using the extended addObject() method.
The "Grid" layout takes the space made available to it by the geometry of its container, divides it up into rows and columns, and puts each UIcontrol it manages into the correct cell.
Once a container has a grid layout you add UIcontrols to it using the extended addObject() method.
addObject(name as character, class as character, row as numeric, col as numeric [, rowspan as numeric, colspan as numeric] )
rowspan and colspan default to 1 if not specified.
cont = createObject("container");
cont.layout = "Grid";
cont.addObject("cont1", "container", 0, 0);
cont1.backcolor = "gold";
cont1.fixedheight = 150;
cont.addObject("cont2", "container", 0, 1);
cont2.backcolor = "orange";
cont.addObject("cont2", "container", 0, 2);
cont2.backcolor = "darkorange";
cont.addObject("cont3", "container", 1, 0, 1, 3);
cont3.layout = "Grid";
cont3.addObject("cont4", "container", 0, 0);
cont4.backcolor = "lightgreen";
cont4.layout = "Grid";
cont4.addObject("cont4_1", "container", 0, 0, 1, 2);
cont4_1.backcolor = "lightgray";
cont4_1.layout = "Grid";
cont4_1.addObject("cont4_1_1", "container", 0, 0);
cont4_1_1.backcolor = "lightgray";
cont4_1.addObject("cont4_1_2", "container", 0, 1);
cont4_1_2.backcolor = "gray";
cont4.addObject("cont4_2", "container", 2, 0, 1, 2);
cont4_2.backcolor = "gold";
cont4_2.fixedheight = 80;
cont4.addObject("cont4_3", "container", 3, 0, 1, 2);
cont4_3.backcolor = "orange";
cont4_3.fixedheight = 60;
cont4.addObject("cont4_4", "container", 4, 0, 1, 2);
cont4_4.backcolor = "darkorange";
cont4_4.fixedheight = 80;
You adjust the horizontal spacing between UIcontrols with the spacing property.
cont = createObject("container");
cont.layout = "Grid";
cont.spacing = 10;
cont.addObject("cont1", "container", 0, 0);
cont1.backcolor = "gold";
cont1.fixedheight = 150;
cont.addObject("cont2", "container", 0, 1);
cont2.backcolor = "orange";
cont.addObject("cont2", "container", 0, 2);
cont2.backcolor = "darkorange";
cont.addObject("cont3", "container", 1, 0, 1, 3);
cont3.layout = "Grid";
cont3.spacing = 10;
cont3.addObject("cont4", "container", 0, 0);
cont4.backcolor = "lightgreen";
cont4.layout = "Grid";
cont4.spacing = 10;
cont4.addObject("cont4_1", "container", 0, 0, 1, 2);
cont4_1.backcolor = "lightgray";
cont4_1.layout = "Grid";
cont4_1.spacing = 10;
cont4_1.addObject("cont4_1_1", "container", 0, 0);
cont4_1_1.backcolor = "lightgray";
cont4_1.addObject("cont4_1_2", "container", 0, 1);
cont4_1_2.backcolor = "gray";
cont4.addObject("cont4_2", "container", 2, 0, 1, 2);
cont4_2.backcolor = "gold";
cont4_2.fixedheight = 80;
cont4.addObject("cont4_3", "container", 3, 0, 1, 2);
cont4_3.backcolor = "orange";
cont4_3.fixedheight = 60;
cont4.addObject("cont4_4", "container", 4, 0, 1, 2);
cont4_4.backcolor = "darkorange";
cont4_4.fixedheight = 80;
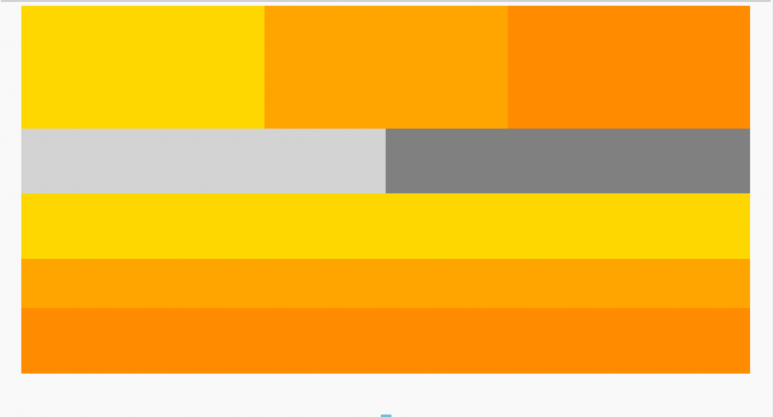
You adjust the margin around the container by setting the margin property.
cont = createObject("container");
cont.layout = "Grid";
cont.margin = 10;
cont.addObject("cont1", "container", 0, 0);
cont1.backcolor = "gold";
cont1.fixedheight = 150;
cont.addObject("cont2", "container", 0, 1);
cont2.backcolor = "orange";
cont.addObject("cont2", "container", 0, 2);
cont2.backcolor = "darkorange";
cont.addObject("cont3", "container", 1, 0, 1, 3);
cont3.layout = "Grid";
cont3.addObject("cont4", "container", 0, 0);
cont4.backcolor = "lightgreen";
cont4.layout = "Grid";
cont4.addObject("cont4_1", "container", 0, 0, 1, 2);
cont4_1.backcolor = "lightgray";
cont4_1.layout = "Grid";
cont4_1.addObject("cont4_1_1", "container", 0, 0);
cont4_1_1.backcolor = "lightgray";
cont4_1.addObject("cont4_1_2", "container", 0, 1);
cont4_1_2.backcolor = "gray";
cont4.addObject("cont4_2", "container", 2, 0, 1, 2);
cont4_2.backcolor = "gold";
cont4_2.fixedheight = 80;
cont4.addObject("cont4_3", "container", 3, 0, 1, 2);
cont4_3.backcolor = "orange";
cont4_3.fixedheight = 60;
cont4.addObject("cont4_4", "container", 4, 0, 1, 2);
cont4_4.backcolor = "darkorange";
cont4_4.fixedheight = 80;
Alternatively you can adjust individual margins by setting margintop, marginbottom, marginleft and/or marginright.
cont = createObject("container");
cont.layout = "Grid";
cont.margintop = 5;
cont.marginright = 25;
cont.marginleft = 25;
cont.marginbottom = 50;
cont.addObject("cont1", "container", 0, 0);
cont1.backcolor = "gold";
cont1.fixedheight = 150;
cont.addObject("cont2", "container", 0, 1);
cont2.backcolor = "orange";
cont.addObject("cont2", "container", 0, 2);
cont2.backcolor = "darkorange";
cont.addObject("cont3", "container", 1, 0, 1, 3);
cont3.layout = "Grid";
cont3.addObject("cont4", "container", 0, 0);
cont4.backcolor = "lightgreen";
cont4.layout = "Grid";
cont4.addObject("cont4_1", "container", 0, 0, 1, 2);
cont4_1.backcolor = "lightgray";
cont4_1.layout = "Grid";
cont4_1.addObject("cont4_1_1", "container", 0, 0);
cont4_1_1.backcolor = "lightgray";
cont4_1.addObject("cont4_1_2", "container", 0, 1);
cont4_1_2.backcolor = "gray";
cont4.addObject("cont4_2", "container", 2, 0, 1, 2);
cont4_2.backcolor = "gold";
cont4_2.fixedheight = 80;
cont4.addObject("cont4_3", "container", 3, 0, 1, 2);
cont4_3.backcolor = "orange";
cont4_3.fixedheight = 60;
cont4.addObject("cont4_4", "container", 4, 0, 1, 2);
cont4_4.backcolor = "darkorange";
cont4_4.fixedheight = 80;
Form Layout
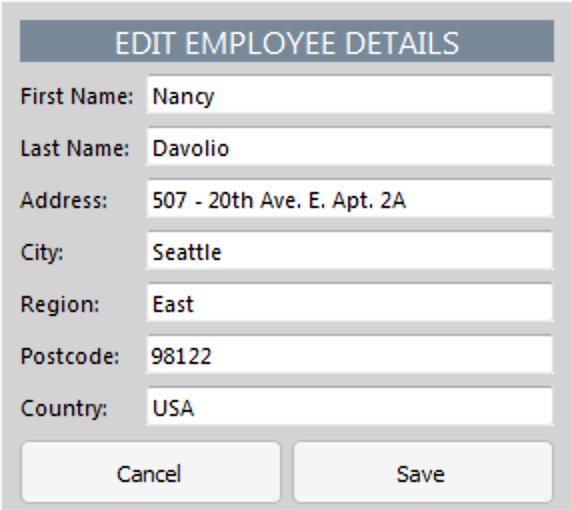
The "Form" layout manages forms of UIcontrols and their associated labels laying them out vertically.
The "Form" layout lays out its children in a two-column form. The left column consists of labels and the right column consists of UIcontrols.
Once a container has a form layout you add UIcontrols to it using the addRow() method.
addRow(caption as character, name as character, class as character)
If the "caption" is empty i.e. "" then nothing displays in the first column of the row and the UIcontrol extends across two columns.
The "name" is the name of the object variable to be created.
The "class" is the UIcontrol class e.g. textbox, combobox, etc
As rows are added to a container with a form layout, each row is added sequentially from top to bottom adjusting its size taking into consideration spacing between each row and the margin around the container.
Example code taken from the example_smartgrid app.
////////////////////////////////////////////////////////////////

// Custom editor for column 'section1.column5'
function page1_section1_column5_customeditor(controlsource,row,col)
{
    var employees = Lianja.getCursor("employees");
    econt = createObject("econt","container");
    econt.layout = "Form";
    econt.addRow("", "formheading", "label");
    formheading.caption = "EDIT EMPLOYEE DETAILS";
    formheading.fontsize = 12;
    formheading.alignment = "center";
    formheading.backcolor = "lightslategray";
    formheading.forecolor = "white";
    econt.addRow("First Name:", "firstname", "textbox");
    firstname.controlsource = "employees.firstname";
    econt.addRow("Last Name:", "lastname", "textbox");
    lastname.controlsource = "employees.lastname";
    econt.addRow("Address:", "address", "textbox");
    address.controlsource = "employees.address";
    econt.addRow("City:", "city", "textbox");
    city.controlsource = "employees.city";
    econt.addRow("Region:", "region", "textbox");
    region.controlsource = "employees.region";
    econt.addRow("Postcode:", "postalcode", "textbox");
    postalcode.controlsource = "employees.postalcode";
    econt.addRow("Country:", "country", "textbox");
    country.controlsource = "employees.country";
    econt.backcolor = "lightgray";
    econt.addRow("", "buttons", "container");
    buttons.backcolor = "lightgray";
    buttons.layout = "Horizontal";
    buttons.spacing = 5;
    buttons.addObject("cancelbtn", "commandbutton");
    cancelbtn.caption = "Cancel";
    cancelbtn.stylesheet = "btn btn-sm btn-block btn-default";
    cancelbtn.click = function()
    {
        Lianja.get("page1.section1").grid.cancel();
    };
    buttons.addObject("savebtn", "commandbutton");
    savebtn.caption = "Save";
    savebtn.stylesheet = "btn btn-sm btn-block btn-default";
    savebtn.click = function()
    {
        Lianja.get("page1.section1").grid.save();
    };
    buttons.minheight = 34;
    econt.fixedheight = 254;
    return econt;
};
You adjust the vertical spacing between UIcontrols with the spacing property.
You adjust the margin around the container by setting the margin property.
Alternatively you can adjust individual margins by setting margintop, marginbottom, marginleft and/or marginright.
Combining layouts using nested containers
Interestingly as with all of the UI layouts in Lianja (Desktop,Web and Mobile) you can add a UIcontrol which is itself a "container" and it can have its own layout.
This provides the ability to build complex user interfaces that are fully responsive. A time saver!
