Creating a Self-Signed Certificate (Windows IIS)
Contents
Overview
A self-signed SSL certificate is a certificate that is signed by the person who created it rather than a trusted certificate authority. Self-signed certificates can have the same level of encryption as the trusted CA-signed SSL certificate.
Typically, the self-signed certificates are used for testing purposes or internal usage. You should not use a self-signed certificate in production systems that are exposed to the Internet.
See Also
Apache Module for Linux, Creating a Self-Signed Certificate (Linux Apache), ISAPI Extension for IIS, Lianja Server Manager on Linux, Lianja Server Manager on Windows, Progressive Web Apps
Windows IIS
- Create a self-signed certificate in an administrator PowerShell
- Export the certificate to a file
- Install the certificate in the Trusted Root Certification Authorities store for Windows or import just for Chrome
- Specify the certificate in the https web site binding
- Configure Firefox to automatically import certificate authorities
Create Certificate
Create the certificate in an administrator PowerShell:

Here the minimum required parameters have been used:
New-SelfSignedCertificate -DnsName "win-cutd9v4hrbs.lianja.local", "win-cutd9v4hrbs" \
-CertStoreLocation "cert:\LocalMachine\My"
See here for full details on the PowerShell New-SelfSignedCertificate cmdlet
Export Certificate
In Internet Information Services (IIS) Manager, open the Server Certificates for the server and you should see your newly created self-signed certificate.
Click View, then Copy to File... in the Details tab:

Click Next on the welcome screen:

Select whether to export the private key with the certificate:

Select the export file format:

Select the location for the file and specify the file name:

Click Next to confirm the file name and location:

Review the details and click Finish to export:

You should now see the 'export was successful' message:

Install Certificate
To access the https web site from Chrome only, skip this step and follow the instructions in Chrome below.
To access the https web site from Edge and/or Firefox (and Chrome), install the certificate:
In Windows Explorer, locate the file created by the Export Wizard, right-click on the file and select Install Certificate:

On the welcome screen, select the store location and click Next:

In the certificate store screen, click Browse... and select Trusted Root Certification Authorities, then click OK and Next:

Confirm the certificate store location and click Next:

Review the settings and click Finish:

You should now see the 'import was successful' message:

Add Site Binding
In Internet Information Services (IIS) Manager select the web site and click Bindings, then click Add... to create a new https binding or Edit... to modify an existing one:

Add/edit the https type binding and select the self-signed SSL certificate you created:

Review the settings then click OK:

Restart the website.
Edge
After completing the steps above, you will now be able to access your https site from Edge:

Close any previously open Edge sessions and restart Edge to test.
Note: here the Default Document has been redirected to the Lianja login page. See IIS Redirect Default Document for details.
Firefox
By default, Firefox does not automatically import CAs (certificate authorities) that have been installed in the Windows certificate store by users/administrators.
So, after exporting and installing your self-signed certificate, it will not yet be recognized as valid in Firefox:

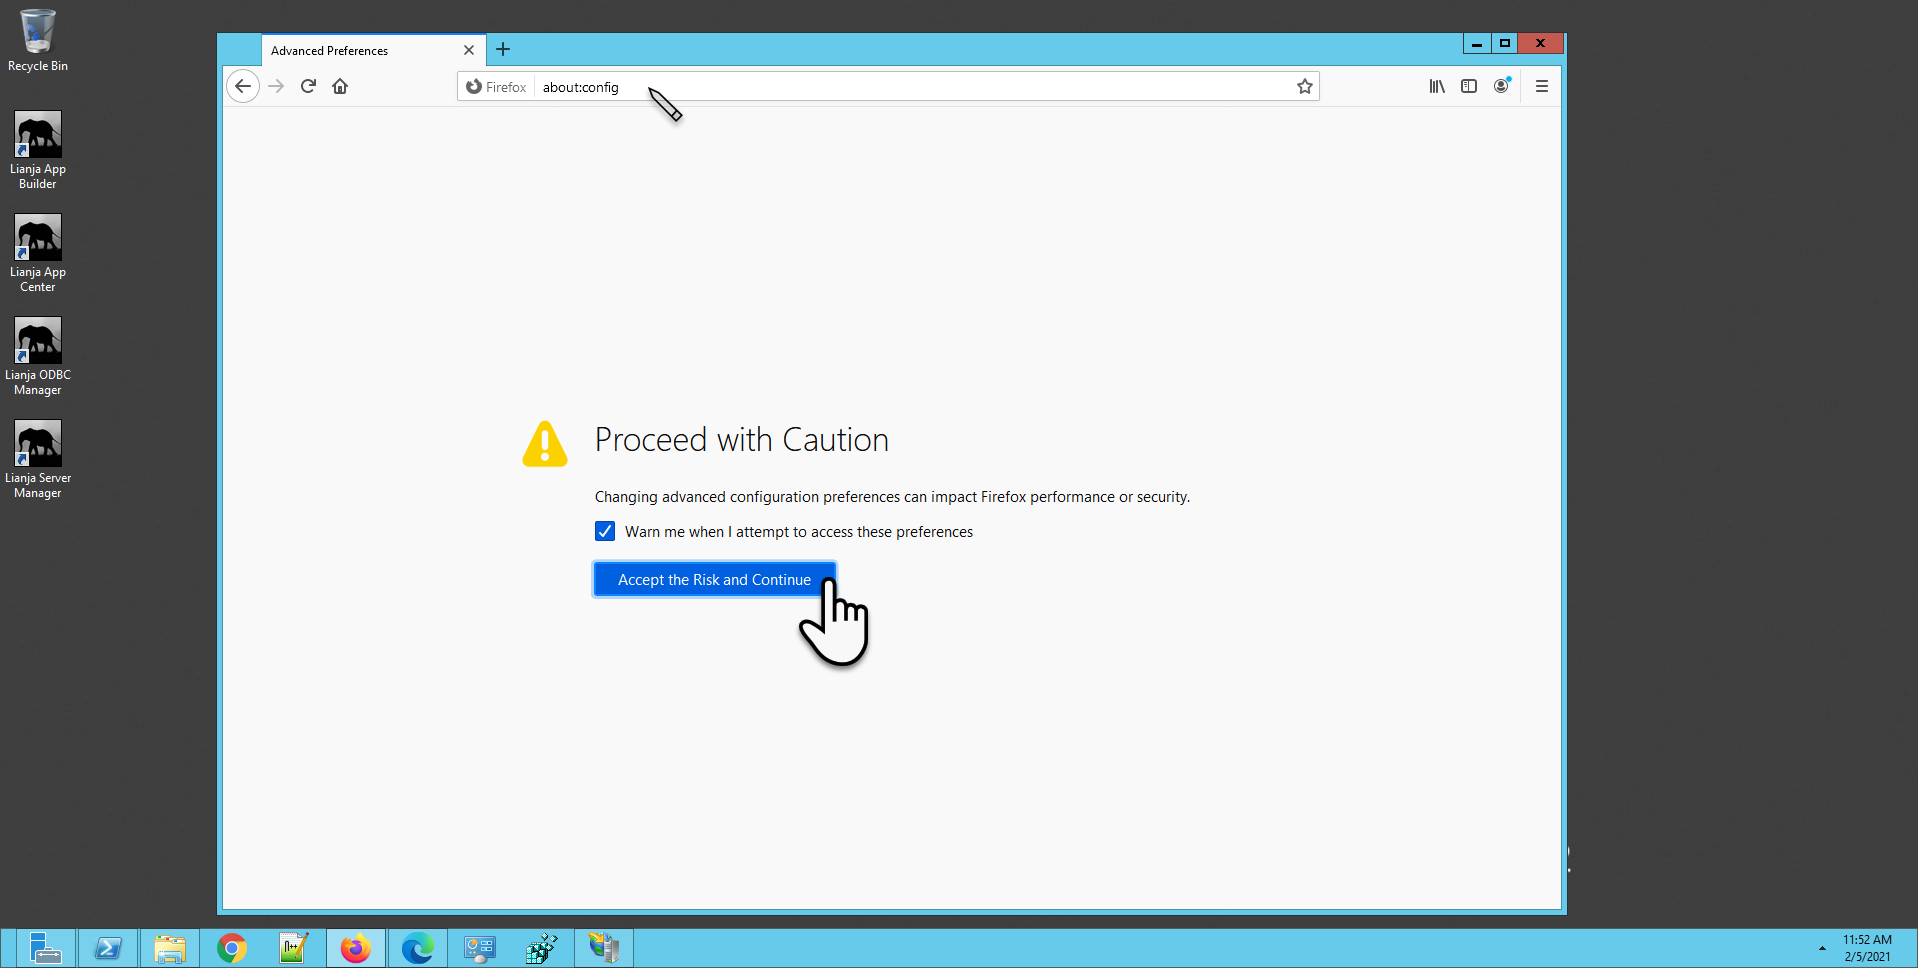
To configure Firefox to search for and import manually added CAs, type in the address bar:
about:config
to open the Configuration Editor and if you are happy to proceed, click the button to continue:
Search for:
security.enterprise_roots.enabled
then click the toggle button to set it to 'true'

Once set to 'true', close all Firefox sessions.

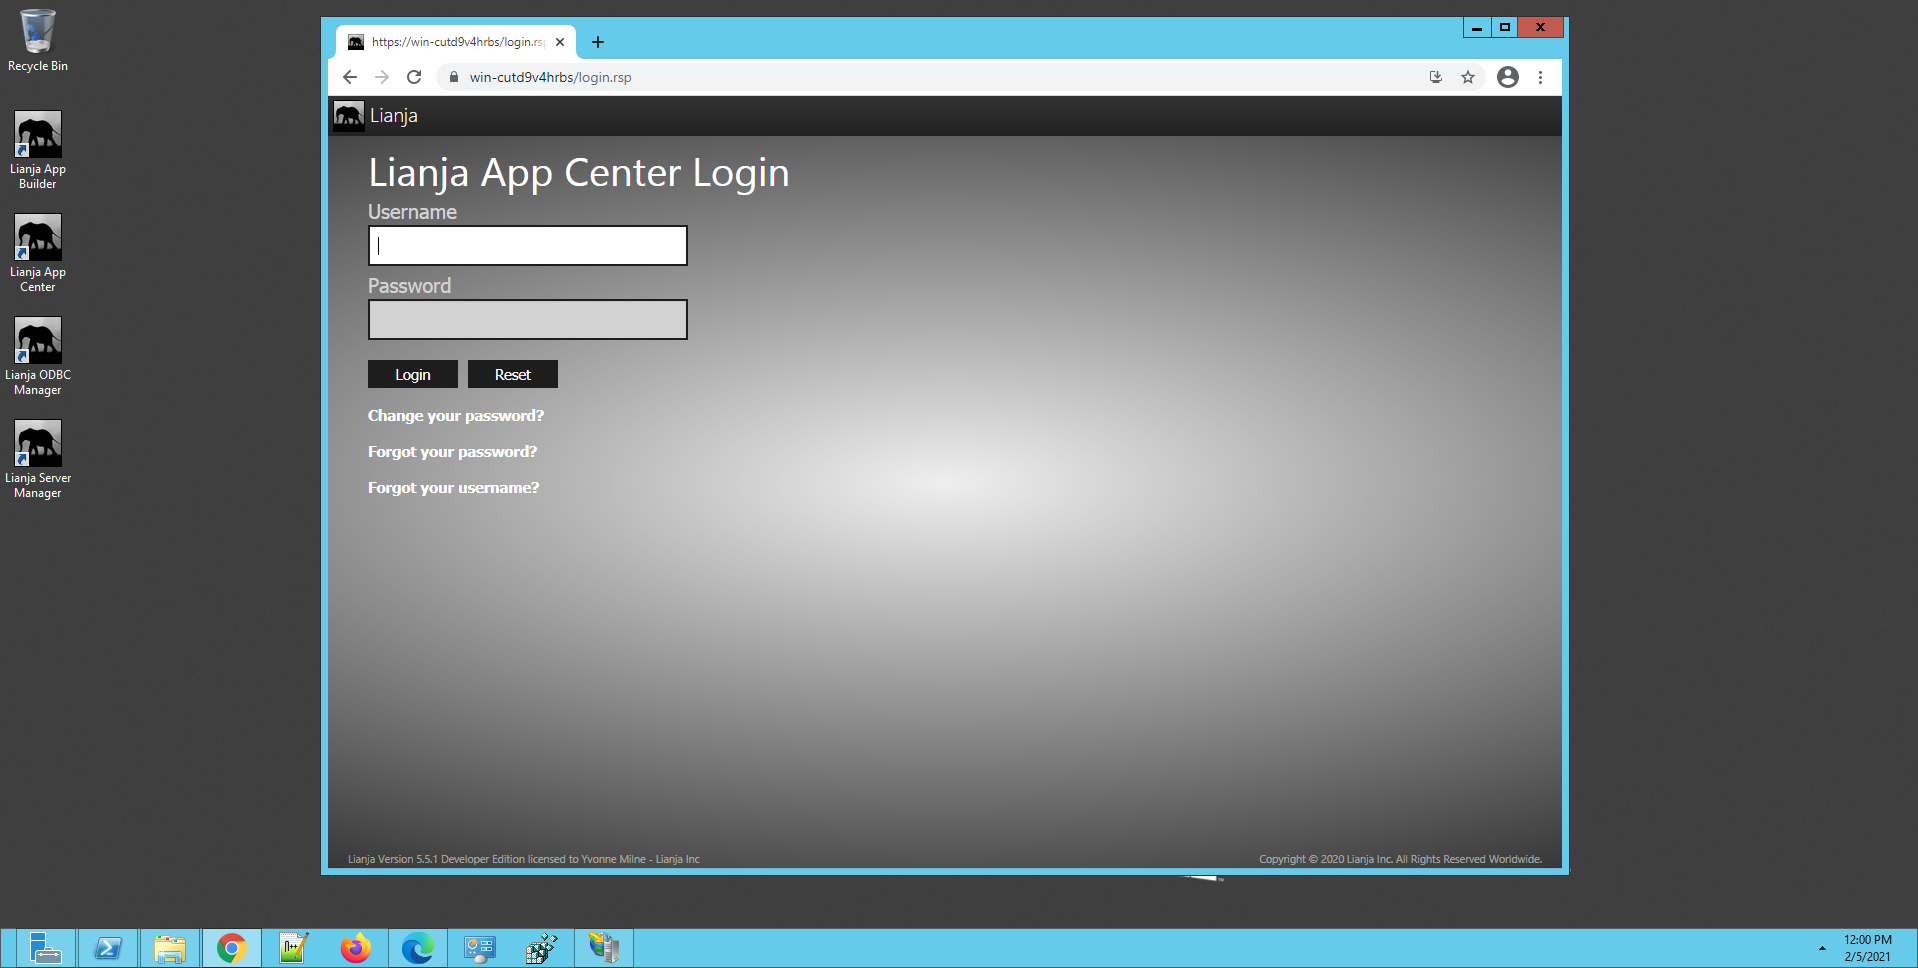
Restart Firefox and you will now be able to access your https site:

Note: here the Default Document has been redirected to the Lianja login page. See IIS Redirect Default Document for details.
Chrome
If you have already installed the certificate, you will now be able to access your https site from Chrome:
Close any previously open Chrome sessions and restart Chrome to test.
Note: here the Default Document has been redirected to the Lianja login page. See IIS Redirect Default Document for details.
If you did not install the certificate, follow the steps below.
Open Settings and search for 'cert', then click on Security:

Click on Manage certificates:

In the Certificates dialog, click Import...:

Click Next in the welcome screen:

Click Browse... and locate the file created by the Export Wizard. Click Open then Next:

Click Browse... and select Trusted Root Certification Authorities if it is not already selected, then click OK and Next:

Review the settings and click Finish:

You should now see the 'import was successful' message:

You will now be able to access your https site from Chrome:
Note: here the Default Document has been redirected to the Lianja login page. See IIS Redirect Default Document for details.