Users and Roles
This article explains how to set up users in the Users Workspace and assign Roles to them which determine their access to each element of an App from an individual Field on a form right up to the App itself.
The target audience is beginner to advanced developers who have read through and understood the Getting Started Guide.
Contents
See Also
- Watch the Users Workspace video:
The Users Workspace
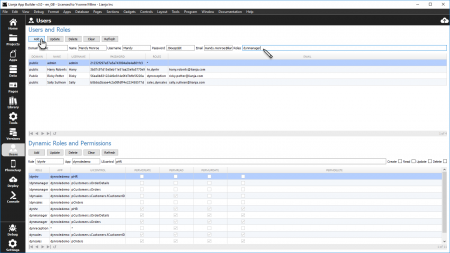
The Users Workspace is where you add usernames, passwords, email addresses and permission levels for the users who will access your Apps.
Permission levels are based on 'roles'. Roles can be assigned for four levels: App, Page, Section and Field. At each level the roles control the operations a user is allowed to carry out. Depending on the level these include Admin, Create, Read, Update and Delete operations.
When you install the Lianja App Builder, one user is already created - the 'admin' user, with the same password: 'admin'. You don't need to use these login details when you start the App Builder - you will be logged in automatically - but, you do need them to log into the Lianja App Center or when you log out of the App Builder and want to login again.
The Users Workspace has fields to input user information, a main grid showing existing users, page navigation buttons in the footer and toolbuttons in the header. The toolbuttons are as follows:
| Button | Description |
|---|---|
| After filling in the fields, click the Add button to create the new user. | |
| After selecting a user and changing the fields, click the Update button to commit the changes. | |
| After selecting a user, click the Delete button to delete the selected user. | |
| Clear Click the Clear button to clear the fields, so no user is selected. | |
| Click the Refresh button to reread the sysroles system table and refresh the Users and Roles display. | |
| Click the Info button to toggle the display of the InfoPanel. |
To change the admin password, click on the grid row to select the admin user and enter the new password in the Password field. You can see the password as you type it, but only its cryptographic key will be displayed in the Users grid and stored in the sysroles system table. Click Update to save your change.
To add a new user, enter the Domain as '*' - we'll cover domains in Lianja Web Client documentation - and then the Username and Password and optional Email address. Leaving the Roles field blank, or entering a '*' gives the user all roles. Click Add to create the new user.
Users can be deleted by selecting them in the grid and clicking Delete. The Clear button is used to deselect a selected user and the Refresh button to reread the sysroles system table and refresh the display.
In my Users Workspace, I have added a few users - Harry, who works in Human Resources and needs the hr role, Sally, who is a Sales Representative and needs the sales role and Ricky who looks after Reception and has the reception role. Mandy, a Manager, is in the process of being added in the screenshot above and requires multiple roles, so these are entered as a comma-separated list.
Using Roles
I can now set up which parts - if any - of my App can be accessed by Harry, Sally and Ricky and any other users I add with the hr, sales and reception roles.
Page Roles
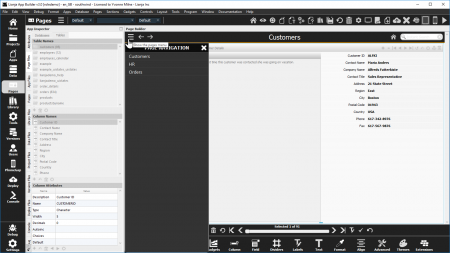
I've created an App called roledemo and added three simple Pages: Customers, Hr and Orders.
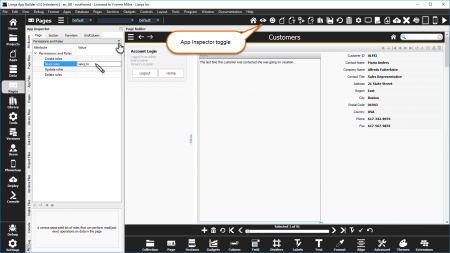
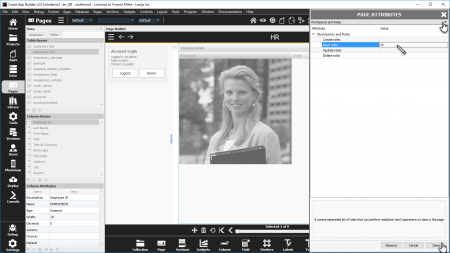
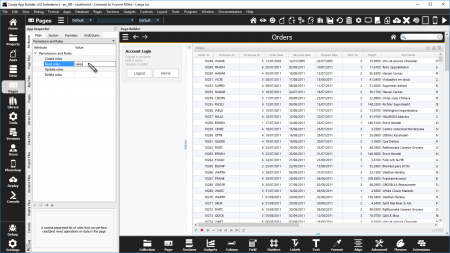
I start by setting different Read roles to restrict who can see each Page. Double-click on each Page header in turn (or click on the cog) to access the Page Attributes and then scroll down to Permissions and Roles.
Both sales and hr will be able to see the Customers Page.
Only hr will be able to see the HR Page.
Only sales will be able to see the Orders Page.
As well as the Read roles, you can also restrict whether a user can Create, Update or Delete data on the whole Page. In each case enter the name of the role, and if you want to use multiple roles, separate them with a comma. Remember, unless a user has a * or an empty Roles field in the Users Workspace grid, giving them all roles, they will need one of the listed roles to be able to carry out that operation.
Publish App
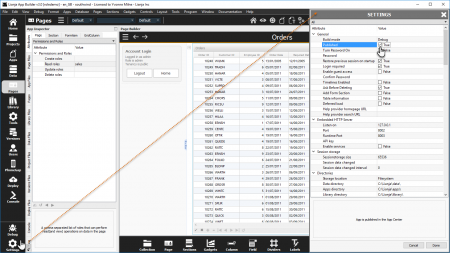
Before I test the App logged in the users I set up in the Users Workspace, I need to Publish the roledemo App so that it appears in the Home tab Workspace of the Lianja App Builder.
To do this, I check the Published checkbox in the App Settings dialog, which is activated by the Settings button in the Modebar.
I now close the App and return to the Home Workspace. Then Logout and Login as Sally from Sales.
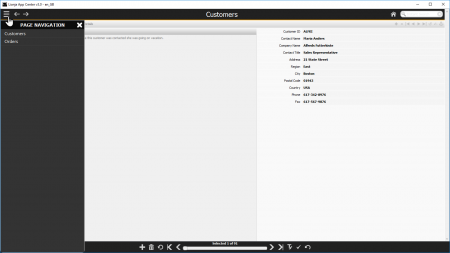
With the sales role, Sally can see the Customers and Orders Pages, but not the HR Page.
And, of course, if logging in as Harry from HR with the hr role only the Customers and HR pages can be seen:
Section Roles
Back to the Customers Page in the App Builder as an admin user (admin/admin or just start the App Builder to be logged in with your username). The Page is, as I said earlier, only one of the levels where permission roles can be set. We can refine them through Sections right down to Fields.
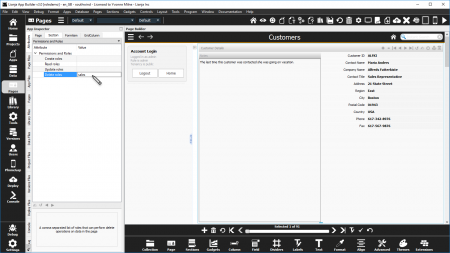
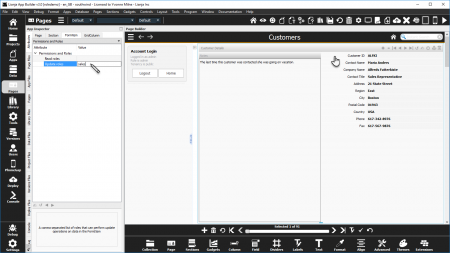
Double-click on the Customers Section header (or click on the cog) to access the Section Attributes and then scroll down to Permissions and Roles. We're only going to allow users with the sales role to delete customers.
Field Roles
Now, double-click on the Customer ID Field Caption to access the Field Attributes and again scroll down to Permissions and Roles. We'll protect this important field and say that only users with the sales role will be able to update it.
Save and close the App again and Login as Harry from HR. Remember, Harry doesn't have the sales role.
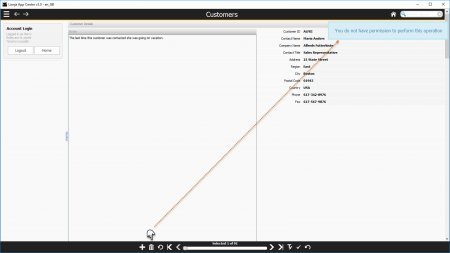
In the Customers Page, try clicking on the Delete button in the Actionbar.
You will see a message displayed explaining why the record cannot be deleted.
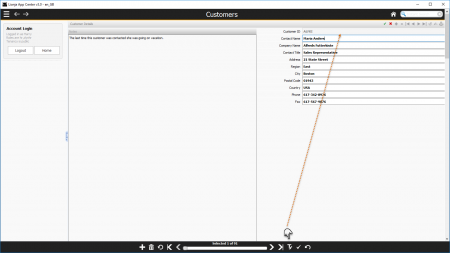
And if you click Edit in the Actionbar, the Customer ID field cannot be updated:
App Roles
So, we've seen Page, Section and Field level roles - that just leaves App Level roles.
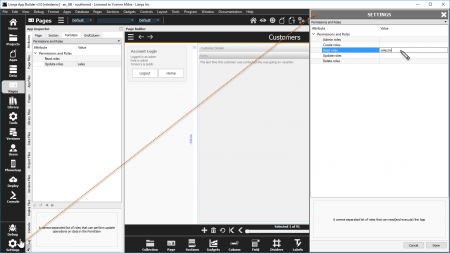
Click the App Settings in the Modebar and scroll down once more to Permissions and Roles. Admin roles restrict who can modify or delete the App itself and apply to Developers. We also have the familiar Create, Update and Delete roles - this time applying to data records across the whole App.
If I assign any Read roles, I can hide the entire App from any user who doesn't have that role. Let's limit this whole App to those with the sales or hr roles:
Now, if you close the App and Login as Ricky from Reception, who does not have the sales or hr role, the roledemo App tile is not displayed.
Deploying Users
To make a Published App available in the Lianja App Center, it has to be Deployed. The same is true for any users you create or modify.
To deploy your users, first close your App if you have one open, then select the Deploy Workspace from the Modebar.
Check the box next to the system database, do the same for any Apps, Scripts or other databases you want to deploy and then click Preview changes followed by Commit changes in the Headerbar.
Summary
Use the Users Workspace to add your users and set their Roles, controlling their permissions at App, Page, Section and Field level. Then you can design and build Apps that can be used by different departments or different groups with different permission levels while correctly protecting the data and all without coding.
