Install App Builder on Windows
From Lianjapedia
Revision as of 10:15, 11 April 2014 by Yvonne.milne (Talk | contribs)
- Double-click on the downloaded installer to run it
- Click Next > to continue

- Read the License Agreement
- Use the scrollbar to display the full text
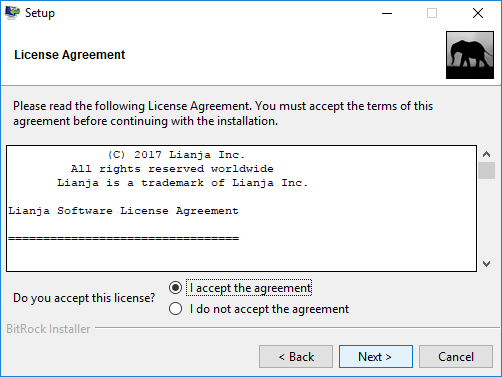
- Click a radio button to accept or reject the License Agreement
- Click Next >
- If you select I accept the agreement, the installation will continue
Lianja App Builder Installation
- If you select I do not accept the agreement, you will be prompted to abort the installation
Lianja App Builder Installation
- If you click Yes, the installation will stop
- If you click No, you will be returned to the License Agreement
Lianja App Builder Installation
- After accepting the License Agreement, the installation will continue
- Select the Installation Directory in the format DRIVE:\lianja
- Click Next > to accept the default Installation Directory 'C:\lianja'
- Note: if you have an existing installation in 'C:\Lianja' (uppercase 'L') this will be displayed and will be the valid default
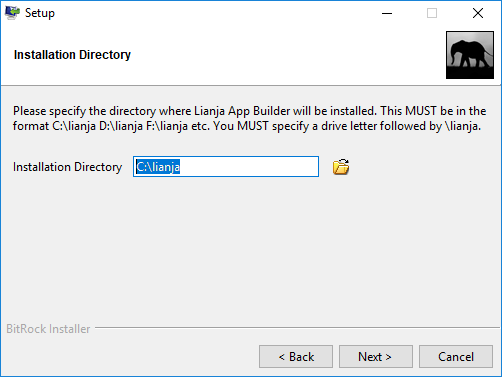
- To install to an alternative drive, specify the drive letter, but leave the directory as '\lianja'
- Click Next >
Lianja App Builder Installation
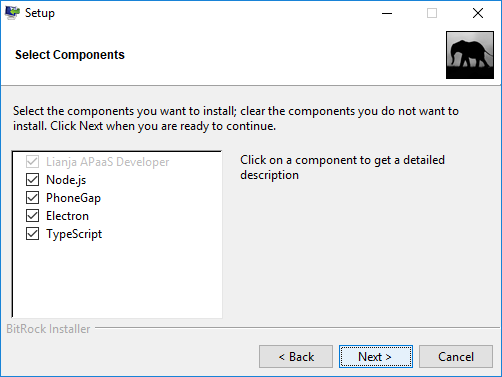
- Make sure 'Lianja App Builder' is checked
- Click Next >
- Click Next > to begin the installation
- If you do not want the installation to begin, click Cancel

- Uncheck the box if you do not want to view the Readme File
- Click Finish
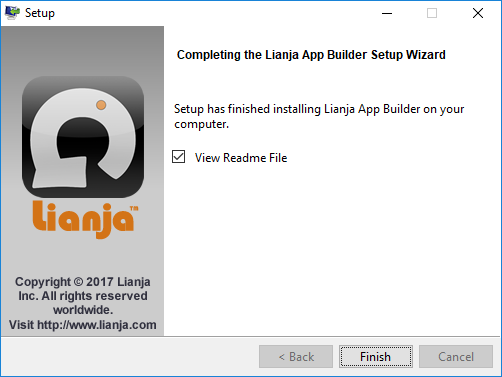
- Double-click the Lianja App Builder desktop shortcut to run the Lianja App Builder
- Note that when you install the Lianja App Builder, the Lianja App Center (desktop client) will also be installed. To run the Lianja App Center, double-click its desktop shortcut. The default username/password for the Lianja App Center is admin/admin.