Difference between revisions of "Install App Builder on Mac"
From Lianjapedia
Yvonne.milne (Talk | contribs) |
Yvonne.milne (Talk | contribs) |
||
| Line 41: | Line 41: | ||
* See [[:Category:Getting Started|Getting Started]] for an introduction to creating Apps in Lianja App Builder. | * See [[:Category:Getting Started|Getting Started]] for an introduction to creating Apps in Lianja App Builder. | ||
| − | |||
| − | |||
[[Category:Installation| ]] | [[Category:Installation| ]] | ||
[[Category:Installation on Mac| Lianja App Builder]] | [[Category:Installation on Mac| Lianja App Builder]] | ||
Revision as of 06:52, 31 August 2017
See Also
Installation
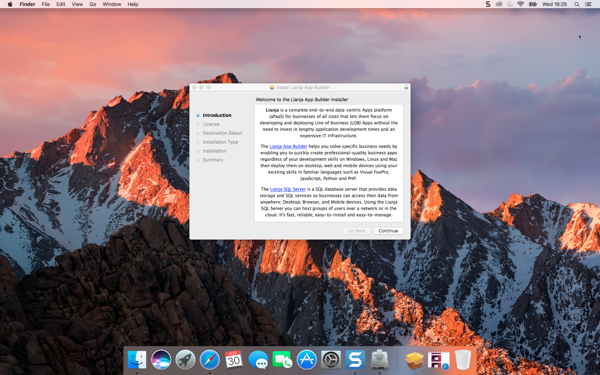
- Double-click the downloaded package (pkg)
- Click Continue
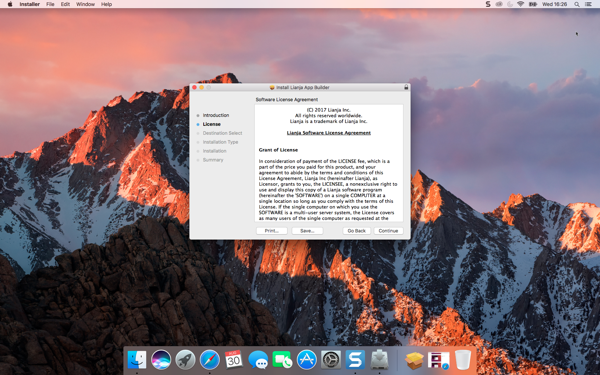
- Optionally Print... or Save... the License Agreement, then click Continue.
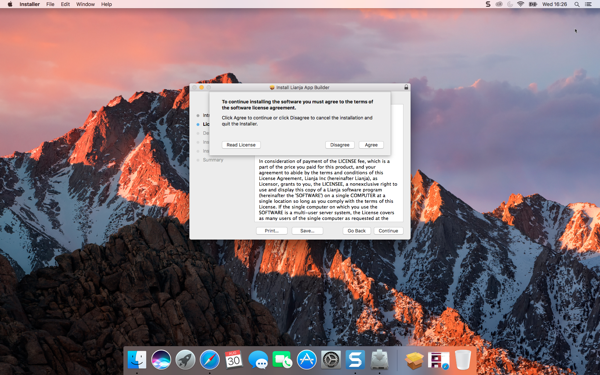
- Click Read License to read the full license. If you agree to the license, click Agree. If you do not agree to the license, click Disagree and the installation will terminate.
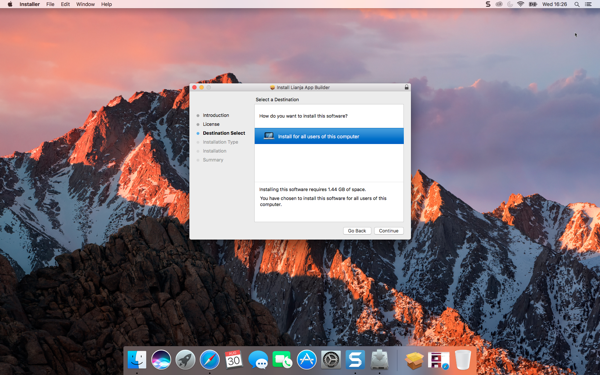
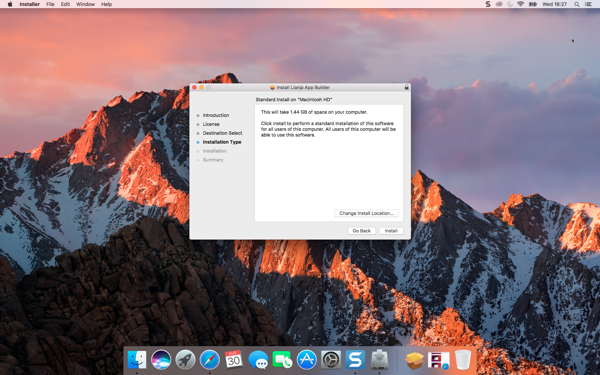
- The Lianja App Builder will be installed for all users. Click Continue.
- Click Install
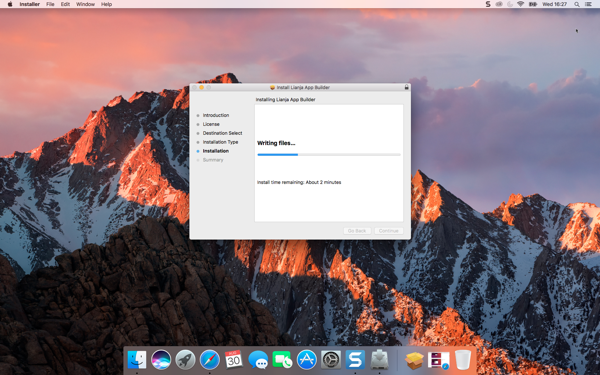
- The Lianja App Builder will now be installed.
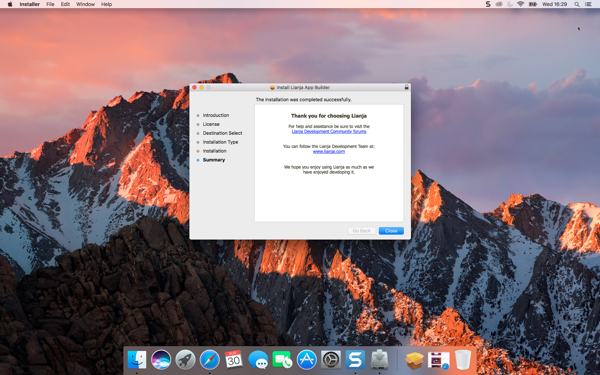
- When the installer has completed, click Close.
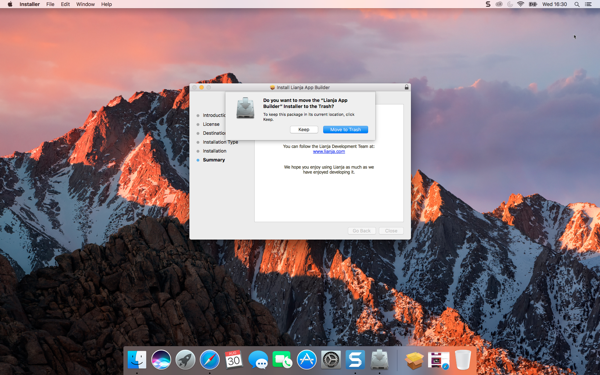
- After the installer has completed, optionally move it to the Trash.
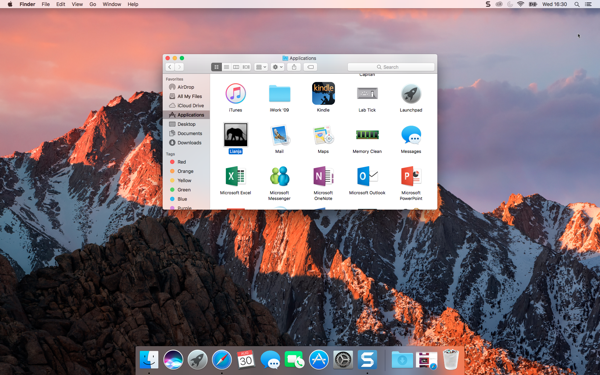
- To run the Lianja App Builder, double-click its shortcut in Applications.
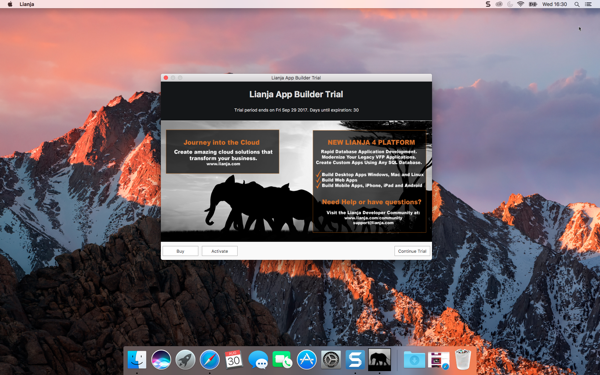
- If this is the first time you have installed Lianja App Builder, it will run with a 30 day trial license. To enter your license key, click Activate.
- The Lianja App Builder will start in the Home workspace.
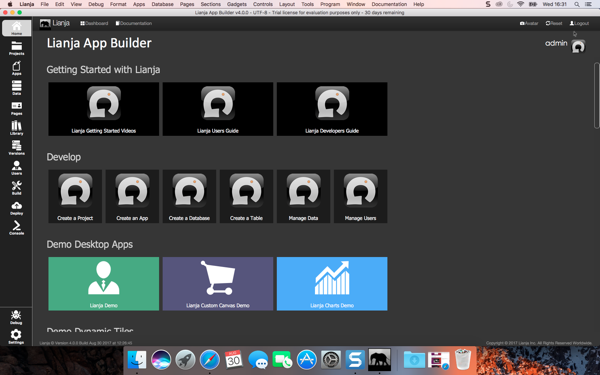
- See Getting Started for an introduction to creating Apps in Lianja App Builder.